Mastering the AI Agent Architecture Diagram: A Comprehensive Guide
A Fresh Look at Diagram Interpretation
Many professionals face the challenge of understanding a complex system at a glance. If you’ve ever found yourself staring at an ai agent architecture diagram, wondering how to decode its components, you're not alone. You might be looking for ways to enhance your system design and integration practices without getting lost in technical details. This guide is designed to help you break down the diagram into manageable parts and see the bigger picture. By exploring key elements and step-by-step strategies, you'll gain insights into how these diagrams support efficient workflows. In today’s fast-paced digital environment, having a strong grasp on these visuals is crucial in mastering your design approach. We will cover why these diagrams matter, how they function within various systems, and best practices to interpret them accurately. The information in this guide will empower you to optimize how you plan and implement projects, making your work more efficient and effective. Let's delve into the fundamentals and unlock the power behind these diagrams.
Understanding the Diagram’s Role in AI Systems
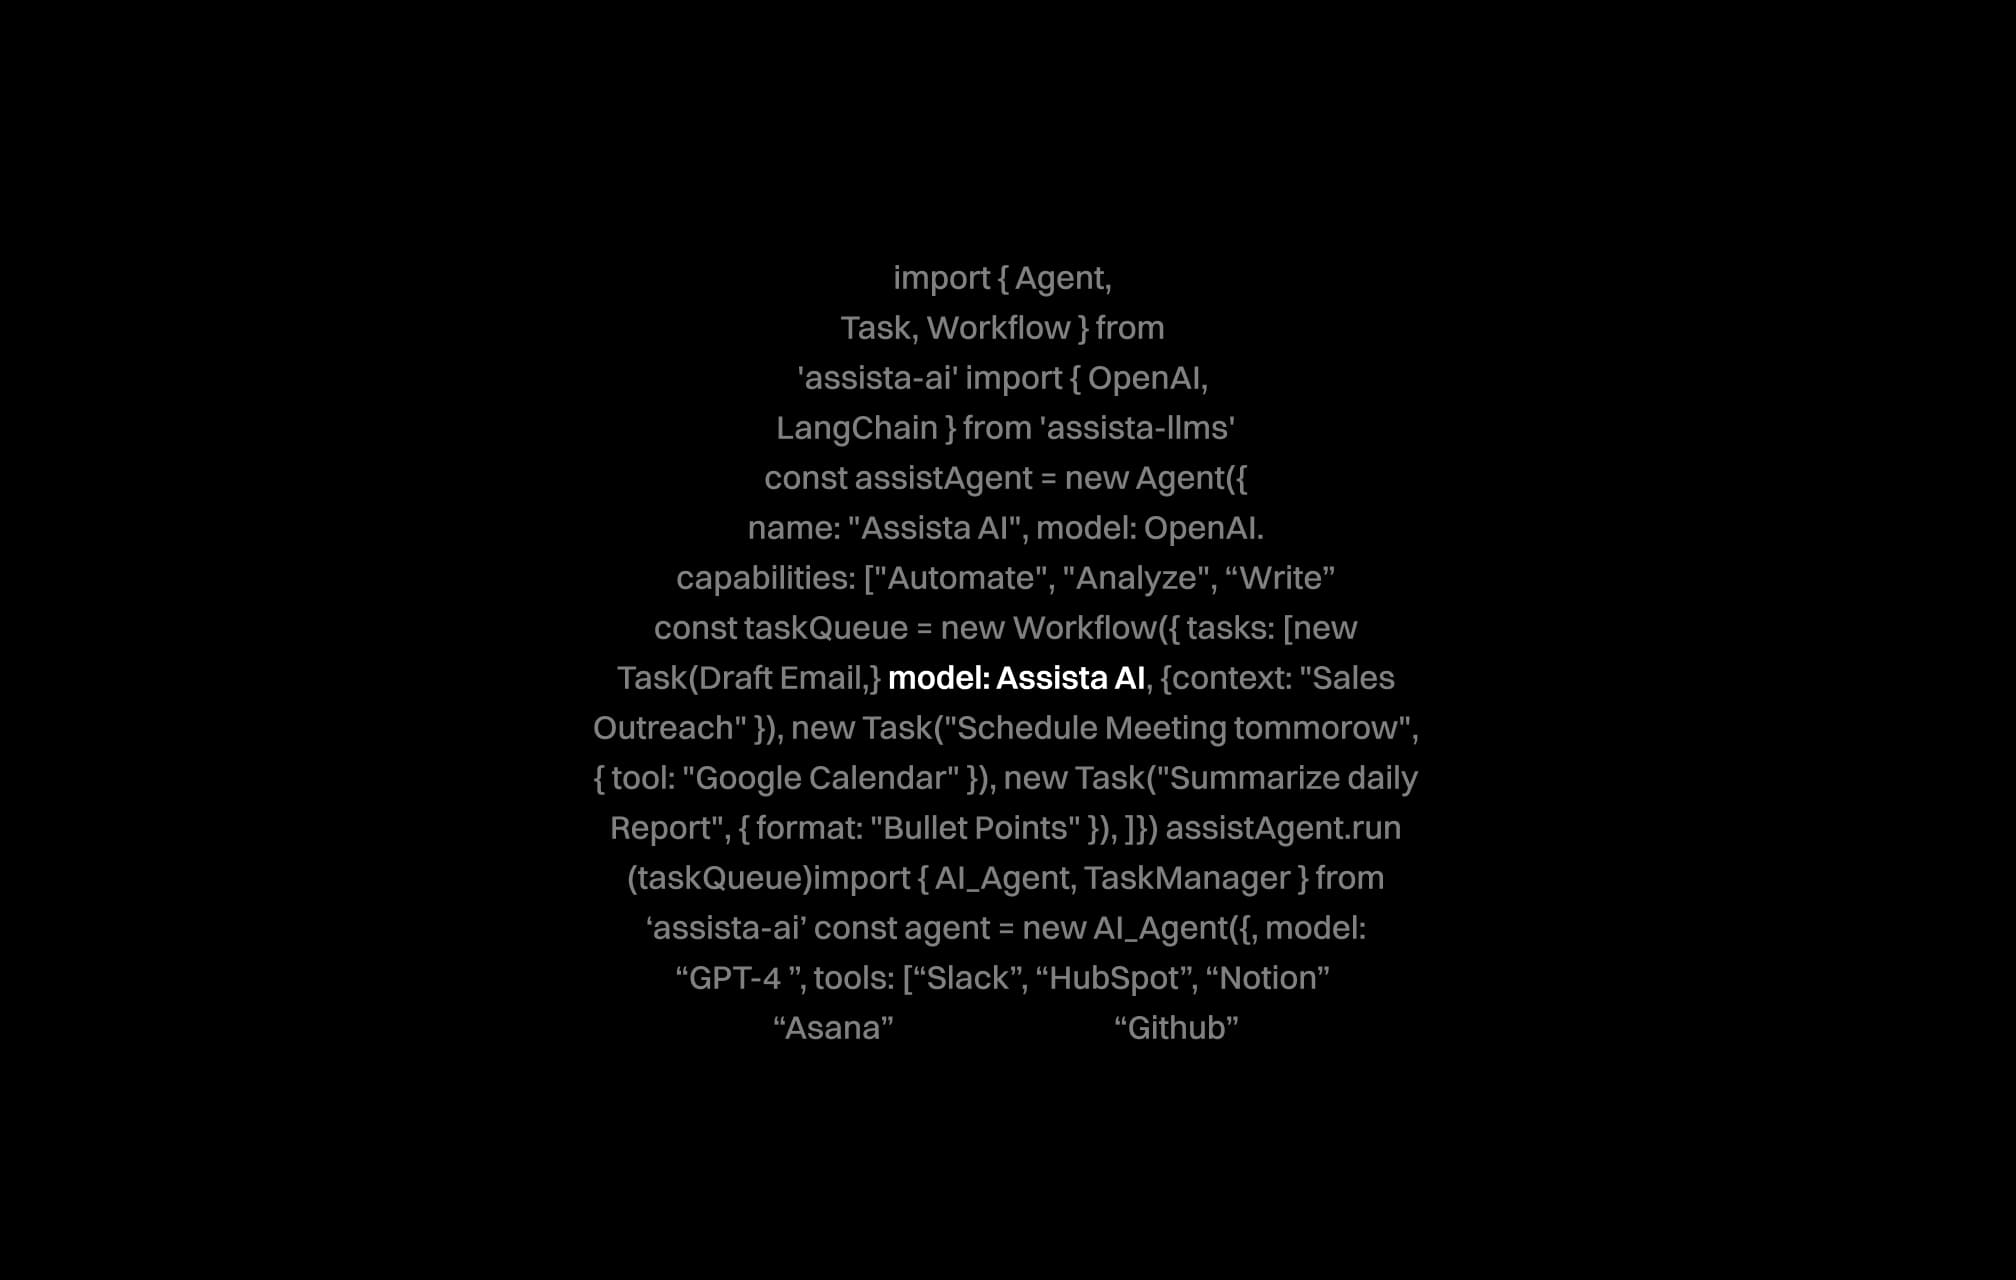
The first step in mastering an ai agent architecture diagram is to understand its role in the grand scheme of system design. These diagrams serve as a visual roadmap, clarifying interactions among multiple components within an AI-driven ecosystem. They are essential for anyone from system architects to digital workers looking to harness the full potential of their technology investment.
When you study these diagrams, you'll notice they illustrate how various tools and agents connect and operate. They display the lifecycle of data, pinpoint decision nodes, and show the workflow processes in action. For example, companies using platforms like Assista's integrations with multi-tool setups such as Gmail, Slack, and Trello benefit from these clear visual paths, which in turn help reduce errors and improve collaboration.
This section lays the foundation by highlighting why these diagrams are vital to designing effective systems. Additionally, understanding the diagram not only simplifies troubleshooting but also enlightens you regarding performance bottlenecks and integration gaps. As you move forward, consider how these visuals can guide practical project improvements, leading to a smarter use of resources. Next, we will break down the diagram's key components to give you a clearer picture of each element's function.
Decoding Key Components of the Diagram
To interpret any ai agent architecture diagram, it is critical to understand its fundamental components. Each section of the diagram represents a specific function, interacting cohesively with others to form a comprehensive network. Knowing these elements can help you pinpoint where data flows, where decisions occur, and how tasks are automated within the system.
Core Elements Overview
The common components in these diagrams include:
- Input Modules: Where raw data is collected from various sources.
- Processing Units: Areas that transform, analyze, and interpret data.
- Decision Nodes: Points where the system makes choices based on evaluated criteria.
- Output Channels: The final points where processed data is delivered to users or other systems.
These components work together to facilitate operations within platforms like Assista, where several digital tools are integrated into one coordinated system.
Visual Markers and Symbols
In most ai agent architecture diagrams, you will find a variety of symbols that stand for different actions or data flows. For instance, arrows depict the direction of data movement, while different shapes may indicate decision points or integration layers. Recognizing these visual markers can dramatically speed up your interpretation process and reduce confusion.
Furthermore, when you cross-reference these components with documentation from leading design resources like Harvard Business Review, you can see that simplicity in design is key to reducing errors in system implementation. Understanding these visual cues helps streamline your diagnostics and clarifies system behavior significantly. Next, we will offer a systematic, step-by-step guide to dissect these diagrams.
A Step-by-Step Guide to Interpret the Diagram
This section provides actionable steps to help you read and understand an ai agent architecture diagram effectively. By following these steps, you can identify the critical junctions in your system and pinpoint where integrations or process improvements might be needed.
- Identify Input Sources: Start by scanning the diagram for data entry points. Recognize each input source, whether it's a tool like Gmail, Trello, or Google Sheets, and understand its role in the overall system.
- Trace the Data Flow: Follow the arrows and lines connecting the components. This will reveal how data is processed, where decisions are made, and how results are disseminated.
- Examine Decision Nodes: Focus on points where various processes converge. These nodes are critical as they often dictate how data is interpreted and routed through systems.
- Review Output Mechanisms: Identify the final outputs. In many systems, these include notifications, reports, or task updates, which directly impact end users.
- Cross-Reference with Documentation: Utilize manuals or expert guides for additional insights. Resources like MIT Technology Review often offer deeper dives into system design specifics.
Using these steps, not only will you have a clearer picture of the system architecture, but you’ll also be in a better position to anticipate any integration bottlenecks or design bottlenecks. A numbered approach like this ensures you cover every aspect logically before moving on to more advanced sections.
Best Practices and Real-World Applications
After understanding the fundamentals and processes to interpret your diagram, it is time to apply best practices to your own projects. These guidelines ensure that the diagram remains an effective tool for both initial planning and ongoing integration enhancements.
Designing with Clarity
Maintaining clarity in your diagram is critical. Clear labels, consistent symbols, and logical sequences can prevent misinterpretations that might derail your workflow. When you design, consider the following checklist:
- Use consistent color coding to differentiate between components.
- Label all parts of the system clearly with functional names.
- Keep the layout clean by avoiding overcrowding of symbols.
- Include legends or keys to explain symbols and markers.
These practices are particularly useful when working with integrated systems like those found on the integration page, where consistency can highlight potential areas for improvement. This checklist not only reinforces clarity but also enhances team communication, further bolstering overall productivity.
Real-World Example: Collaborative Workflow Automation
Consider a real-world scenario where a digital marketing team uses an ai agent architecture diagram to automate their workflow. The diagram illustrates how data is captured from LinkedIn and HubSpot, processed through a decision node, and then automatically disseminated to platforms like Trello and Slack. Using these integrations, team members receive timely reports and updates, which essentially enhance their efficiency.
For instance, a small business might use a platform like Assista to bridge disparate software systems. They set up an automation to retrieve leads from HubSpot and then assign tasks in Trello. This case study showcases the practical benefits of a well-interpreted diagram, which not only saves time but also improves communication. For more detailed insights on how AI solutions boost productivity, you might want to check out articles on the blog.
Bringing It All Together
In wrapping up our exploration of the ai agent architecture diagram, it is clear that a comprehensive understanding begins with recognizing the diagram's role and its essential components. We discussed how to identify data inputs, follow the data flow, and examine decision nodes—all crucial for effective integration in multi-tool environments.
As you work through these strategies, remember that clarity and systematic analysis are your best tools. By applying a structured approach and following best practices, you can transform a seemingly complex diagram into a powerful blueprint for your system design.
This guide also underscored the importance of real-world examples, such as how teams leverage platforms like Assista to automate repetitive tasks and enhance workflow efficiencies. If you are ready to take your system design to the next level and put these insights into practice, consider exploring more about how Assista can support your workflow. You can sign up for an account and check out additional prebuilt automations available in the marketplace to see practical applications in action.
Ultimately, interpreting an ai agent architecture diagram is about understanding the language of modern system design. With the right approach, you can streamline your processes and make informed decisions that boost productivity and collaboration. Keep this guide handy as you navigate your next project, and dive deeper into related topics by visiting our main website and blog for continuous insights.
Thank you for joining us in this deep dive into diagram interpretation. Now is the perfect time to start leveraging these strategies for smarter, more effective integration and task automation.
Join over 1,400 professionals who reclaimed their time and sanity by letting AI handle the busywork.