How to Build an AI Agent: Step-by-Step Tutorial
Understanding the Power of an AI Agent
If you have ever wondered how to build an AI agent from scratch, you are not alone. Building an AI agent is a challenge faced by many who want to automate tasks and boost productivity. In today’s competitive digital landscape, it is crucial to leverage technology that can work for you without requiring a background in complex programming. This article explains the basics and guides you through each step in a clear and friendly manner. We will cover what an AI agent is, the essential tools you need, a detailed step-by-step guide, ways to test and optimize your agent, and real-world use cases with best practices. By following this tutorial, you will gain the confidence to create an intelligent agent that not only meets your needs but also integrates naturally with productivity tools. Read on to learn how to build an AI agent and discover the effective development techniques that drive success.
What is an AI Agent and Why Should You Build One?
AI agents are digital assistants programmed to perform tasks ranging from simple data retrieval to complex decision-making processes. The evolution of AI has enabled these agents to automate workflows, retrieve insights, and facilitate smoother operations for non-technical digital workers. Organizations and professionals alike can benefit by reducing manual work and leveraging precise, automated systems.
This section helps you understand the significance of building an AI agent. According to recent trends, companies that embrace AI-driven automation have seen efficiency improvements of up to 40% in daily operations. With platforms like Integrations and detailed guides available online, even those with limited technical expertise can benefit from AI agents by automating tasks such as sending emails, updating tasks in Trello, or analyzing data in Google Sheets.
By learning how to build an AI agent, you can free yourself from repetitive tasks and focus on strategic decisions. In the next section, we detail the preparation and essential tools you will need to get started.
Essential Tools and Preparation
Before you begin constructing your AI agent, it’s important to gather the right tools and prepare a clear workflow. This ensures that the entire process remains manageable and aligned with your business needs. A robust preparation phase minimizes errors and lays a solid foundation for your project.
Here are some key factors and tools you should consider:
- Development Environment: Choose a platform that supports the integration of multiple software tools. Platforms like About provide extensive features for connecting various productivity apps.
- APIs and Documentation: Obtain API keys and study the documentation for each platform you plan to integrate. This step is crucial for ensuring compatibility and smooth operation.
- Collaboration Tools: Tools such as Slack, Gmail, and Google Docs help streamline communication and enable multi-step workflow automation.
In addition, drafting an outline or flowchart of your agent’s workflow will help you visualize how tasks connect to each other. Consider these steps to prepare effectively:
- Identify the tasks to automate.
- Select the productivity tools to integrate.
- Plan the sequence of actions and interactions.
Once you have your environment and tools ready, the next stage is to dive into the hands-on process of building your agent. This involves designing the agent's architecture and coding the functionalities that serve your needs.
A Step-by-Step Guide to Build Your AI Agent
This section offers a detailed walkthrough of how to build an AI agent from scratch. We break down the process into manageable steps, so you can follow along confidently even if you are not a seasoned developer.
Step 1: Define Your Agent’s Purpose
Start by clearly defining the role of your AI agent. Ask yourself what tasks the agent will perform and how it will interact with your preferred productivity tools. A precise purpose aligns your project goals and ensures that subsequent steps meet your expectations. Some examples include:
- Automating client email responses using Gmail.
- Managing task updates on Trello or Asana.
- Generating real-time reports from Google Sheets data.
Understanding your objectives will also help when integrating with platforms like Changelog where updates on features and best practices are frequently shared.
Step 2: Map Out the Workflow
Mapping out your workflow is crucial. Draw a flowchart that outlines how data moves from one task to the next. This structured approach uncovers any potential bottlenecks or areas for automation optimization. When mapping out your workflow:
- Start with a simple sketch of input and output steps.
- Identify key decision points where the agent will make choices or generate responses.
- Plan integrations with tools like HubSpot for lead management or Notion for documentation.
Once you have your workflow mapped, it’s time to build the agent using code or no-code tools.
Step 3: Choose Your Development Approach
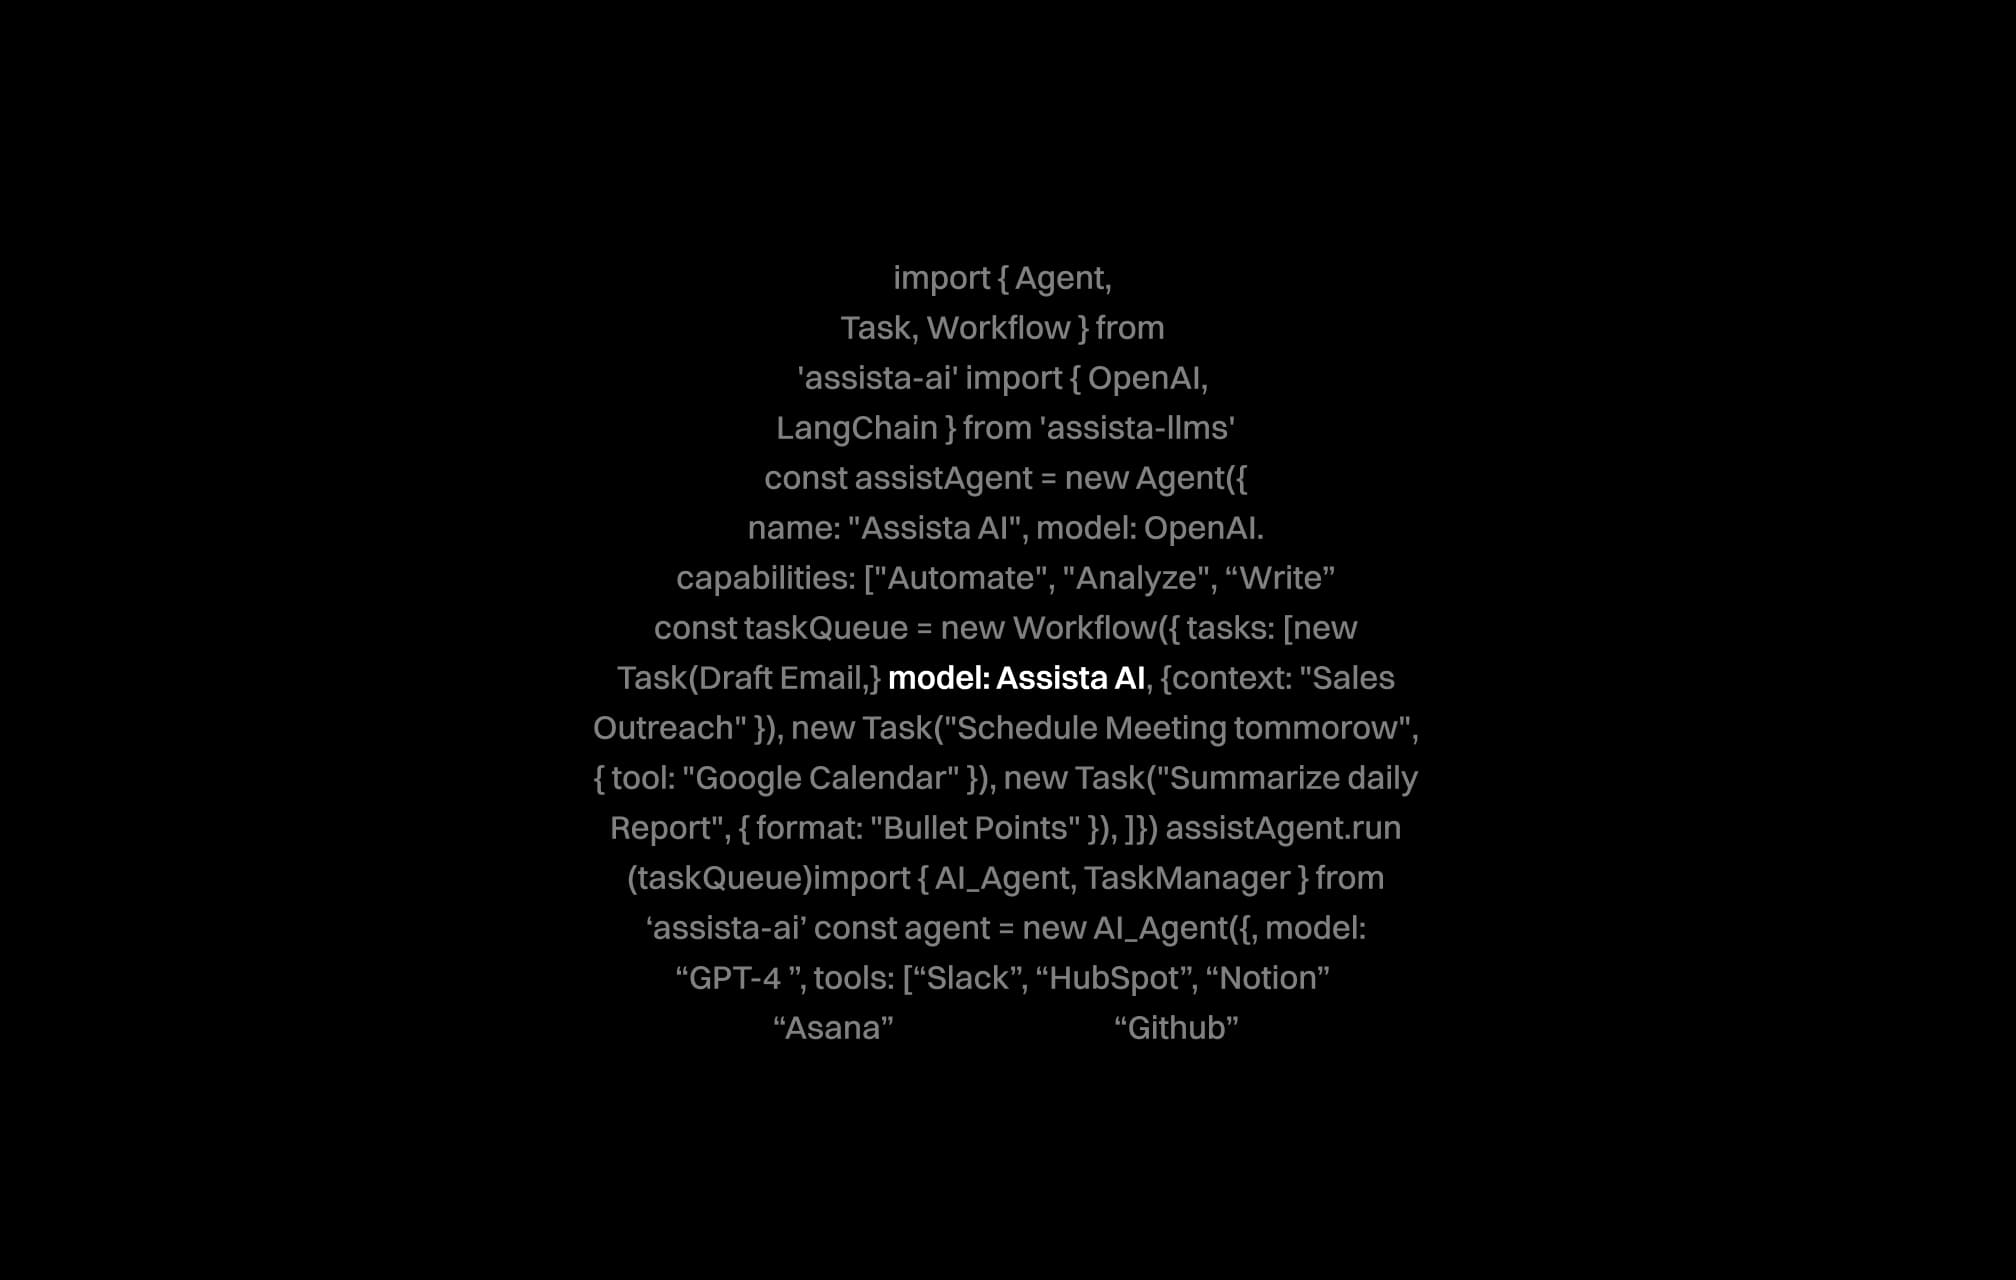
There are two primary approaches when it comes to building your AI agent: coding from scratch or using a no-code platform. For non-technical users, a no-code solution can be a perfect starting point. For instance, platforms like Assista enable you to create complex workflows without extensive programming knowledge.
If you opt to code your agent, choose a programming language that aligns with your project requirements. Integrations with popular productivity tools might be easier when using languages such as Python or JavaScript. For example, using Python along with frameworks like Flask for web integration can be highly effective.
Step 4: Program and Integrate
This is the heart of building your AI agent. During this stage, you will translate your workflow into an actionable script that performs tasks based on user inputs. Integrate your script with third-party APIs and data sources. Here’s a high-level overview:
- Create the core logic: Write code that interprets natural language commands and triggers the correct sequence of actions.
- Establish API connections: Communicate with external systems like Slack, LinkedIn, or Salesforce to perform specific tasks.
- Implement error handling: Build in safeguards to ensure that unexpected inputs or failures do not disrupt your system.
For those preferring a no-code route, Assista’s platform allows you to configure automations through a user-friendly interface. You can sign up to explore these capabilities and join thousands who have successfully built AI agents without writing code.
Step 5: Document the Code and Workflow
Documentation is critical. By documenting your code and workflow, you not only facilitate easier troubleshooting but also enable future enhancements. Be sure to record:
- Every API call made by your agent.
- The sequence of actions performed within the workflow.
- Fallback mechanisms and error resolutions.
This practice ensures that even if you or a team member needs to update the system later, the information is readily accessible. Comprehensive documentation benefits both technical and non-technical stakeholders.
Testing and Optimizing Your AI Agent
After successfully coding or configuring your AI agent, rigorous testing is essential. Testing not only confirms that the agent functions as expected but also highlights areas for improvement. Effective testing means verifying the agent’s response to a variety of inputs and ensuring that all integrated systems communicate as intended.
Initial Testing
Conduct initial tests using controlled input data. Check that each part of your workflow triggers the correct API call and that responses from external systems are processed accurately. Use tools such as Postman or your development platform’s built-in testing features, if available. Be sure to test using both valid and invalid inputs so that your error handling is thoroughly vetted.
Gathering User Feedback
Once your initial tests are complete, roll out the agent to a small group of beta users. Collect feedback on usability, speed, and overall experience. This step bridges the gap between technical testing and real-world use, providing insights on how the agent performs under different scenarios.
Optimization Strategies
Based on user feedback and data collected from tests, optimize your workflows. Consider focusing on:
- Reducing latency in API calls by optimizing your code.
- Enhancing natural language processing by refining command triggers or keywords.
- Improving error handling to reduce disruptions.
For example, a case study published in MIT Technology Review highlighted that companies improved efficiency by upgrading their AI agents’ natural language processing models. Optimization is an ongoing process, so keep iterating your workflow as you accumulate more performance data.
Real-World Use Cases and Best Practices
The true value of an AI agent emerges when it is employed in real-world scenarios. Organizations often rely on these agents to cut through bureaucracy and execute tasks with speed and precision. Below, we explore common use cases along with best practices to maximize your agent’s effectiveness.
Common Use Cases
Here are a few examples of how an AI agent can transform your everyday operations:
- Email Management: Automate email responses through Gmail and manage follow-ups efficiently.
- Task Automation: Update tasks in Trello or Asana without manual intervention.
- Data Analysis: Retrieve and analyze data from Google Sheets to generate comprehensive reports.
These use cases are not only practical but also scalable depending on your business growth. The key is to assess which tasks take up most of your time and can benefit from automation.
Best Practices for Building a Robust AI Agent
Adhering to best practices ensures that your AI agent remains reliable, efficient, and secure. Some recommendations include:
- Regularly update your integrations to match any changes in external APIs.
- Document workflow changes and code updates for future reference.
- Invest time in user training so that all team members understand how to leverage the agent effectively.
- Monitor performance continuously and apply optimizations as needed.
Integrate best practices from industry leaders by exploring resources available on the blog. Engaging with community discussions and expert articles helps in perfecting your approach.
Examples from the Field
Consider a mid-sized sales organization that integrated an AI agent to manage outreach and follow-ups on LinkedIn and HubSpot. By automating routine tasks and capturing lead data more efficiently, the company increased its conversion rate by over 30% in just a few months. Another example is a digital agency that used an AI agent to coordinate tasks between Google Calendar and Notion, freeing up valuable time to focus on creative strategies.
These examples illustrate how incorporating a smartly built AI agent can transform daily operations and drive growth. As you refine your own project, these real-world applications can serve as both inspiration and a benchmark for success.
Looking Ahead: Expanding Capabilities and Continuous Improvement
Building your first AI agent is just the beginning. As your experience grows, you can expand the capabilities of your system by incorporating additional functionalities. Consider integrating more tools such as Salesforce, Microsoft Teams, or even developing custom modules tailored to your unique workflow requirements.
Continuous improvement is essential. Track the performance metrics of your AI agent and establish regular review intervals. Whether it's through upgrading natural language processing modules or optimizing API connections, incremental enhancements ensure your agent stays ahead of evolving needs.
For further inspiration, explore new features and updates in the changelog where you can learn how other professionals are refining their automation processes. Additionally, connecting with communities on platforms like LinkedIn can provide fresh perspectives and innovative ideas.
To take your project to the next level, consider exploring available resources in the marketplace. Here, prebuilt automations can complement your custom agent, offering a blend of speed and reliable performance.
You have now seen the entire journey to create a functional AI agent that meets real-world needs. By following these steps and utilizing the insights shared above, you can continuously build, optimize, and expand your agent’s capabilities. With each iteration, it becomes a stronger ally in managing complex workflows across platforms like Gmail, Slack, HubSpot, and many more.
Summing Up the Journey
In wrapping up this comprehensive guide, you have learned how to build an AI agent using proven development techniques and best practices. We began with a discussion on the significance of AI agents and their practical applications. You then gathered essential tools and prepared your workflow before diving into a detailed, step-by-step guide covering purpose definition, workflow mapping, selecting a development approach, programming, and documenting your project. Rigorous testing and iterative optimizations further ensured that your agent would perform reliably in real-world scenarios.
This guide not only equips you with the knowledge to build your own AI agent but also inspires you to continuously refine and expand its capabilities. Whether you choose to code your agent or use a no-code perfect solution, remember that every optimization, every refined step, and every piece of user feedback brings you closer to a robust solution. Now is the time to harness the potential of modern workflow automation and reduce the burden of repetitive tasks.
If you are ready to revolutionize your workflows and drive operational excellence, start today by putting this guide into action. Explore additional resources on the blog and join knowledgeable communities to share your experiences. To further empower your journey, consider sign up on the Assista platform and unlock a whole new level of operational efficiency through intelligent automation. Your next breakthrough in productivity awaits!
Join over 1,400 professionals who reclaimed their time and sanity by letting AI handle the busywork.